Use Only 360 Tools to Edit 360° Video | Avoid Zoom and Crop Mistakes | 360 VR Photography
Learn why zooming or cropping 360° video causes stitching and distortion. Use built-in 360 tools like patch, reorientation, and titles to edit professionally without breaking your VR footage
🚫 The Golden Rule of VR Editing: Why You Must Never Zoom or Crop 360° Video
Introduction: The Rookie Mistake That Destroys Immersion
If you're editing 360° video, there's one simple rule that can save your entire project from becoming a distorted, nausea-inducing mess:
👉 Always use native 360 tools — never zoom, crop, or edit footage as if it were a normal 2D video.
It's the most common mistake beginners make. They open their beautiful 360° footage in a regular editing program, instinctively zoom in to focus on a detail, or crop the edges—and in doing so, they destroy the entire spherical alignment of the video. The moment that video is viewed in a VR headset, the illusion shatters.
🧭 Your 360° Video is a Sphere — Not a Flat Frame
Understanding this basic truth is key to professional VR workflow. A 360° video captures the full, complete environment around the camera—it is, mathematically, a sphere.
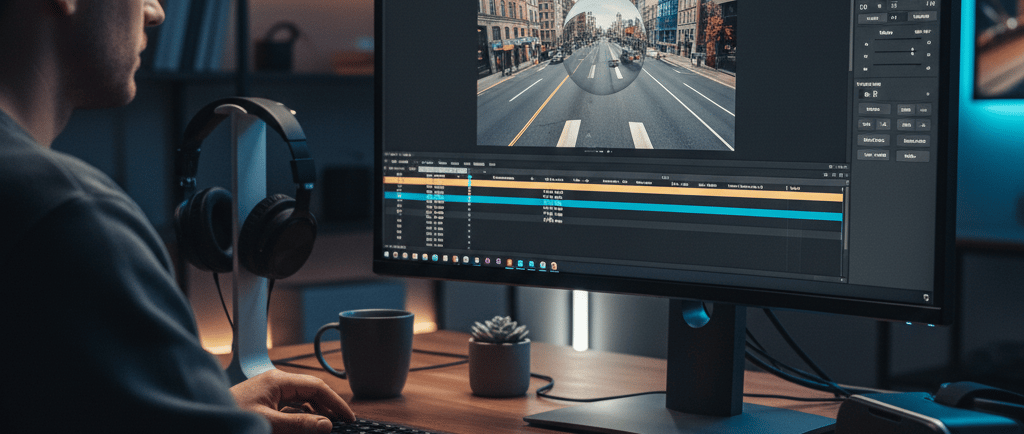
When you view this video on a standard computer screen, you are looking at an extremely stretched, flattened version of that sphere called the equirectangular view.
The Danger: If you use standard 2D tools (like the common Zoom or Crop tool) on this equirectangular footage, the editing software breaks the complex mathematical relationship that holds the sphere together. This causes serious issues when wrapped back into a VR environment:
Visible, jagged stitching lines become exposed.
Misalignment and distortion between the lenses occurs.
The entire view looks broken and uncomfortable inside a VR headset, leading to motion sickness.
Human Touch: Even if the cropped image looks sharp on your computer monitor, remember that the VR headset is stretching that edit across the entirety of the user's peripheral vision. You're not just ruining a frame; you're ruining an entire world.
⚙️ The Professional Way: Always Use Built-in 360 Tools
Professional editors rely exclusively on the specialized 360° environment within their software to make corrections, clean-ups, or creative changes. These dedicated tools operate mathematically on the sphere itself, ensuring alignment is always maintained and the VR experience remains seamless.
When You Need to Change Something...Use This 360 ToolWhy It WorksFix Camera Angle or Horizon✅ 360 Reorientation ToolAdjusts the center point of the sphere without warping the edges.Remove Tripod/Shadows✅ 360 Patch ToolAutomatically samples the surrounding image to intelligently hide unwanted objects at the nadir (bottom).Add Text or Branding✅ 360 Titles & GraphicsWraps motion text or logos naturally around the spherical geometry.View Final Result✅ 360 ViewerAllows you to look around your scene just like a VR user would, ensuring fidelity.
Reference Link: Explore the technical documentation on how equirectangular projection is corrected using spherical mapping tools.
🎬 How to "Zoom" the Right Way: Video-in-Video
If your objective is to highlight an object, show a detail closer, or simply cut a compelling 2D clip from your 360° footage, do not zoom the original clip.
Instead, use a process called "re-framing" or the "video-in-video" (ViV) technique:
Re-frame: Use the camera manufacturer's software (like Insta360 Studio) to export a standard 2D video clip from the 360° source, focusing on the detail you want.
ViV Overlay: Bring this new 2D clip back into your main 360° timeline as a floating overlay or screen within the VR world.
This method is clean, professional, and viewer-friendly because it keeps the primary 360° scene untouched while using a separate 2D window to zoom, animate, or explain details.
🧩 Software That Supports Professional 360° Tools
Choosing the right software is half the battle. The best editors for 360° video feature native editing environments built specifically to handle spherical data:
🎞️ Final Cut Pro (FCP): Offers robust, built-in 360 tools (patch, reorientation, titles) that perform exceptionally well in real-time.
🎞️ Adobe Premiere Pro: Supports 360 workflows with native controls and the use of dedicated plug-ins for specialized needs.
🎞️ DaVinci Resolve Studio: Ideal for advanced color grading and effects manipulation in a dedicated VR space.
At 360 vr photography, we prefer Final Cut Pro for its natural, real-time control, ensuring that every rotation, patch, or title feels perfectly integrated—no distortion, no stitching issues.
💡 Pro Tip: The Final Check
Before rendering your final output, there is one step you absolutely cannot skip:
👁️ Always preview your video in a physical VR headset (Oculus, Quest, or HTC Vive).
This step ensures that your orientation, patching, and overall visuals look natural and comfortable from every direction, guaranteeing a premium immersive experience for the end-user.
Conclusion: Keep Your World Round and Immersive
Editing 360° video is not about cutting flat frames; it’s about preserving the integrity of an environment. If you zoom or crop using 2D tools, you destroy the spherical shape that makes Virtual Reality possible.
For true VR storytelling, the workflow is the key to immersion.
👉 Always use 360 tools for 360 editing.
👉 Never zoom, never crop.
👉 Keep your world real, round, and seamlessly immersive.
At 360 vr photography, we believe the right technical workflow is the foundation of genuine VR storytelling—where the experience feels as natural as being there.
Contact 360 vr photography
Website: 360vrphotography.com and 360vrphotography.in
Contact Number: 9920322366
Name: Viral Gala
Experience
Engaging virtual tours for real estate and events.
Innovative
Immersive
info@360vrphotography.in
+91 9920322366