Step-by-Step Guide to 360° VR Video Production – From Script Writing to Editing
Step-by-Step Guide to 360° VR Video Production – From Script Writing to Editing
VIRTUAL REALITY
My post content

🎬 Step-by-Step Guide to Professional 360 VR Video Production – From Script to Final Delivery
Meta Description: Learn the complete production pipeline for high-quality $360^{\circ}$ $\text{VR}$ video: from conceptual scripting and on-set preparation to critical stitching, spatial audio, and client approval. A proven, professional workflow for immersive vr experiences, trusted by 360 vr photography.
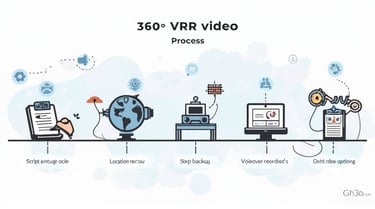
📌 The $\text{360 vr photography}$ Production Workflow
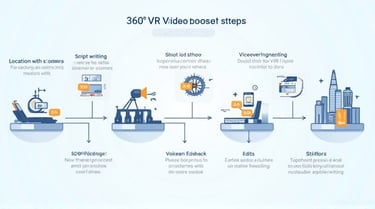
Creating a professional 360 vr video is not just about pressing the record button. It requires detailed planning, scripting, and careful execution. If one step goes wrong, it can become very costly to re-shoot. Here is the complete, eight-step process we follow to deliver high-quality $\text{VR}$ videos on schedule.
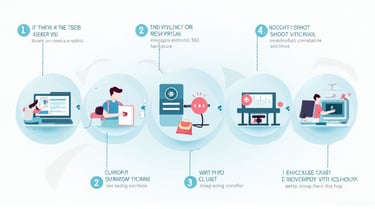
Phase 1: Pre-Production – The Blueprint for Success
1️⃣ Script Writing & Viewer Guidance
The $360^{\circ}$ script is your most important tool, but it differs from traditional filmmaking. Since the viewer can look anywhere, you must strategically guide their attention.
Pacing for Immersion: Decide the total duration. Remember, $360^{\circ}$ videos require slower pacing {10-15 seconds per scene}$) to give the viewer time to look around and prevent motion sickness [Source: Meta Quest for Creators].
Action Cues: Mark each script section with notes about where the key action is happening. Plan for sound cues or character movement to guide the viewer’s gaze.
The Blueprint: Your final script is the shooting blueprint.
2️⃣ Pre-Shoot Recce & Technical Planning
A site visit (Recce) is essential because there is literally no "behind the camera."
Avoid the Stitch Line Nightmare: Plan the camera placement carefully. Keep your main subjects and anything you want to be seamless at least $\text{3 meters}$ (10 feet) away from the camera to avoid parallax distortion across the lens stitch lines [Source: Common Mistakes with 360 Videos].
Lighting Check: Check lighting conditions. Avoid placing the camera where a single, harsh light source (like the sun or a window) will create extreme exposure differences across the lenses, making stitching impossible later.
Nadir Plan: Determine where you and your tripod will be digitally removed (the Nadir Patch).
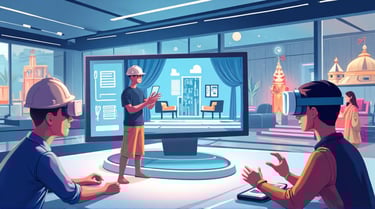
Phase 2: Production – On Set Discipline
3️⃣ Shooting the Video with Precision
Lock All Settings: CRITICAL: Ensure all lenses on the Insta360 Pro 2 are set to the exact same Manual exposure, ISO, and White Balance. Inconsistent settings are one of the biggest causes of visible seams and color mismatches in the final stitch.
Safety & Stillness: The camera must be absolutely still unless a controlled dolly or stabilizer move is required. Unwanted shake causes motion sickness.
Track Everything: Keep the script in hand, match each shot, and write down the video numbers. This helps track retakes and pending shots efficiently.
4️⃣ Review & Immediate Backup (Shoot Day Insurance)
Double Data Review: At the end of the day, review all data twice. Match the script with the recorded shots.
Immediate Redundancy: Take an immediate, redundant backup before leaving the location. The cost of a hard drive is nothing compared to the cost of a reshoot.
Stitching Check: If possible, do a quick, rough stitch on the most complex shots to confirm data integrity and basic stitch alignment on the same day.
Phase 3: Post-Production – Crafting the Immersion
5️⃣ Critical Stitching & Seam Removal at Office
Seamless Stitching: Import all 360 footage. Use specialized software (like Insta360 Stitcher) to align and stitch the files properly to remove seams. This process compensates for slight differences in lens geometry and light.
Tripod Removal: Complete the Nadir Patching to digitally remove the tripod and crew footprints, often replacing the area with a company logo or a cloned area of the floor.
6️⃣ Voiceover & Spatial Audio Planning
Voiceover Approval: Record the vo as per the script and share the raw audio with the client for approval. The VO becomes the backbone of the timeline.
Spatial Audio: If using immersive sound, ensure that the audio is correctly positioned (Spatial Audio) so that when the viewer turns their head, the sound source stays anchored, further enhancing the sense of presence [Source: SynergyXR].
7️⃣ Editing & First Cut (Pacing is Everything)
Editing: Begin editing after the final vo is approved. Focus on the slow pace required for 360
Structured Client Feedback: Prepare a first cut and share it. Ask clients to mark exactly where they want graphics, text, or animations in the 360 sphere. Clients can send screenshots in a PPT for crystal clarity and faster revisions.
8️⃣ Graphics, Metadata, & Final Delivery
Graphics & Branding: Insert graphics, text, and branding, ensuring they are correctly warped and positioned in the 360 space.
The Metadata Step (Crucial!): Before final upload, the video file MUST be processed using a Spatial Media Metadata Injector (a free tool from Google) [Source: Spatial Media GitHub]. This vital step tells platforms like YouTube and Facebook that the file is 360and enables the viewer's panoramic controls. Without this, your 360 video is just a distorted flat video.
Final Handover: Deliver the final, high-quality {8K}$ video file.
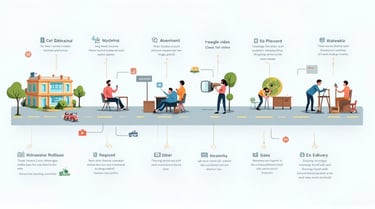
✅ Conclusion
A professional 360 vr video requires structured planning from script to final metadata injection. By following this proven workflow, our clients save time, avoid costly re-shoots, and get high-quality immersive content delivered on schedule.
Ready to launch your high-impact {VR}$ project?
Contact Viral Gala for a consultation: 9920322366
Explore Our Professional {VR}$ Services: 360vrphotography.com or 360vrphotography.in

Experience
Engaging virtual tours for real estate and events.
Innovative
Immersive
info@360vrphotography.in
+91 9920322366